Google Drive is a robust cloud-based storage platform with numerous functions that assist you in organizing, collaborating, and accessing your data from anywhere. One of Google Drive’s most valuable features is the ability to effortlessly share your files with others. This includes attaching them to your blog. So, let’s look at how to link material from your Google Drive to your blog.
Step-by-step guide
Step 1: Choose the File You Want to Link
The first step is to choose the file you wish to connect. This might be a document, spreadsheet, presentation, picture, or any other file type in your Google Drive.
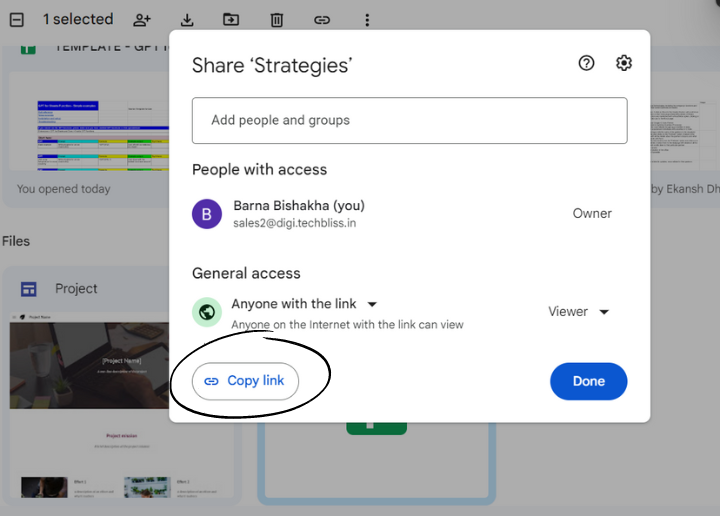
Step 2: Get the link to the file
Now, right-click on the file in Google Drive and choose “Get the link”. This will produce a URL that you can share with others.
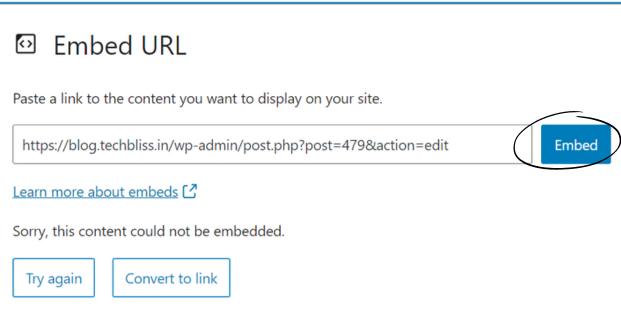
Step 3: Embed the Link on Your Blog
Now that you have the link to your file, you may embed it on your blog. Go to your blog post editor and paste the URL into your post. Further, depending on the platform, you can accomplish this by entering a hyperlink or using an embed code.
Step 4: Customize the Link
Finally, you may make the link more user-friendly for your viewers. You may add anchor text, for example, to make the link more descriptive, or a URL shortener to make the link shorter and simpler to remember.
Conclusion
To summarize, Linking information from your Google Drive to your blog is an easy process that allows you to share your files with your followers. You may add your files to your blog and customize the URLs to make them more user-friendly by following these four steps. Google Drive makes it simple to attach your material to your blog and share it with the world, whether you’re sharing documents, photographs, or any other form of the file.